CRON jobs are used to schedule tasks on your WordPress site at predetermined times, dates, or intervals. A WordPress cron job could be used to schedule the publication of a post, monitor for updates, or run a backup plugin on a set schedule.
WP-Cron, which is used to emulate a system cron in WordPress, takes care of this. However, depending on how much traffic your site receives, using the built-in cron handler can slow down page load times. So, for better efficiency, we'll show you how to disable WP-Cron (wp-cron.php) and instead utilize a system cron.
WP-Cron Performance Problems
At JWH, we work with a lot of high-traffic, high-demand sites. As a result, we've encountered a number of performance difficulties with WP-Cron, WordPress's built-in Cron handler. To begin, it's vital to understand that WP-Cron isn't a true cron job; rather, it's a WordPress plugin that mimics the functionality of a system cron.
WP-Cron is not a continuous process. Wp-cron.php is activated by default on every page load, which might cause issues on high-traffic sites. If a site doesn't have enough PHP workers, a request may occasionally come in, WordPress will spawn the cron, but the cron will have to wait for the worker, so it will simply sit there.
It's also true in the other direction. Schedules may be missed if a site does not receive much traffic because no one has loaded a page.
Disabling WP-Cron and instead of using the system cron is a better option. This is suggested in the official Plugin guide and runs on a pre-defined schedule.
How to Turn Off WP-Cron
Add the following to your wp-config.php file, immediately before the line that states “That’s all, stop editing! Happy blogging.” to disable WP-Cron. Note that this only stops it from executing when you call it directly from wp-cron.php, not when the page loads.
define('DISABLE_WP_CRON', true);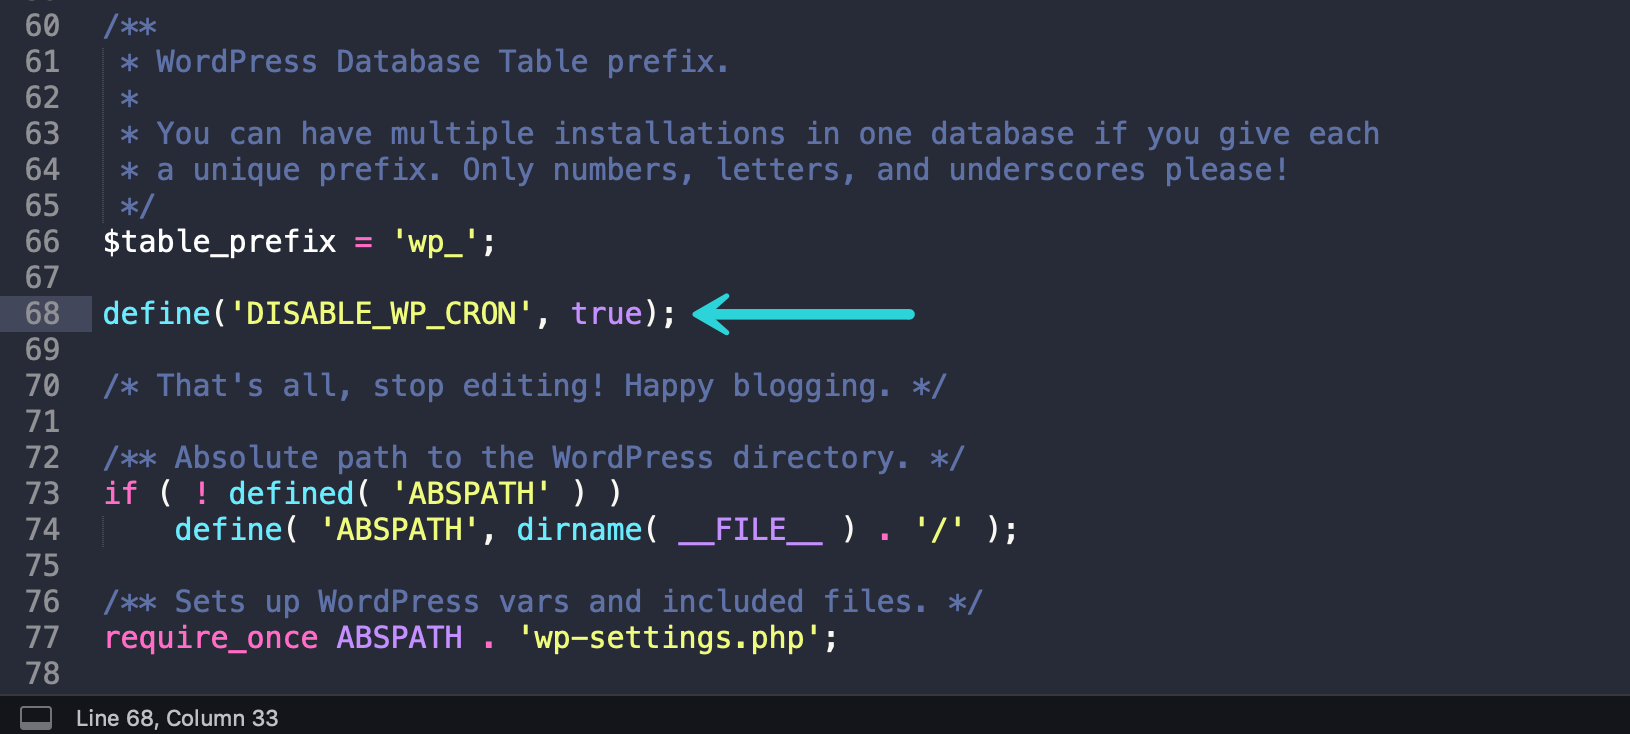
How to Make a System Cron Schedule
After that, you'll need to schedule wp-cron.php on your server.
Below is how you can set up a cron within DirectAdmin:
Log in to your DirectAdmin
- Navigate to DirectAdmin and go to User Level.
- Go the Advanced Features and click on Cron Jobs
- From the right sidebar, click Create Cron Job
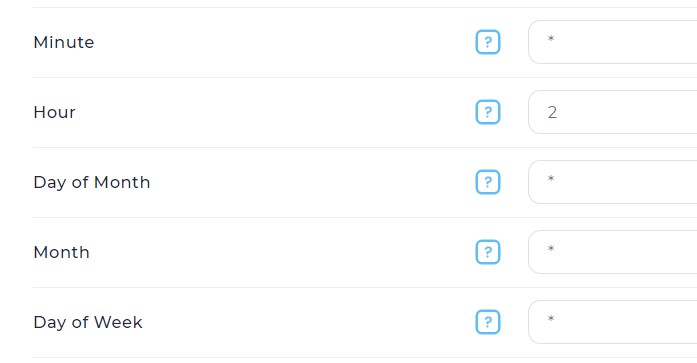
Setup the Cron Job
The typical format of a cron job is:
- Minute(0-59)
- Hour(0-24)
- Day_of_month(1-31)
- Month(1-12)
- Day_of_week(0-6)
- Command_to_execute
You can set up your WP Cron to run every two (2) hours:
In the Command text area, enter the below code replacing domain.com with your actual domain name.
wget -q -O - https://domain.com/wp-cron.php?doing_wp_cron >/dev/null 2>&1Done and you may now save.
